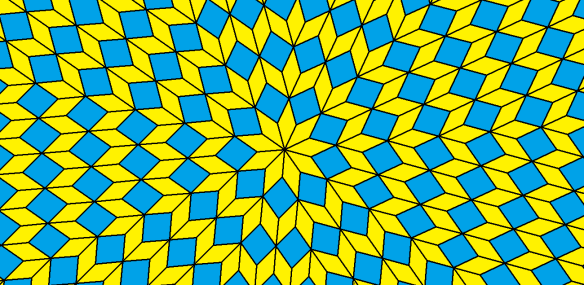
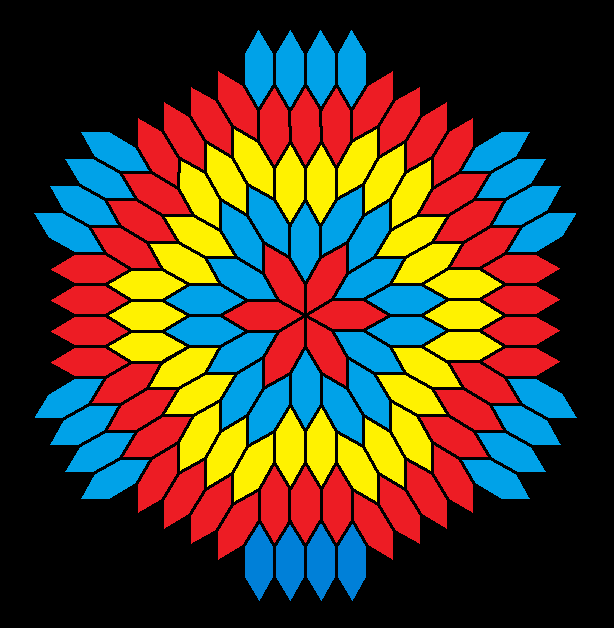
The yellow rhombi have angles which measure 40 and 140 degrees, while the blue rhombi’s angles measure 80 and 100 degrees.
The yellow rhombi have angles which measure 40 and 140 degrees, while the blue rhombi’s angles measure 80 and 100 degrees.


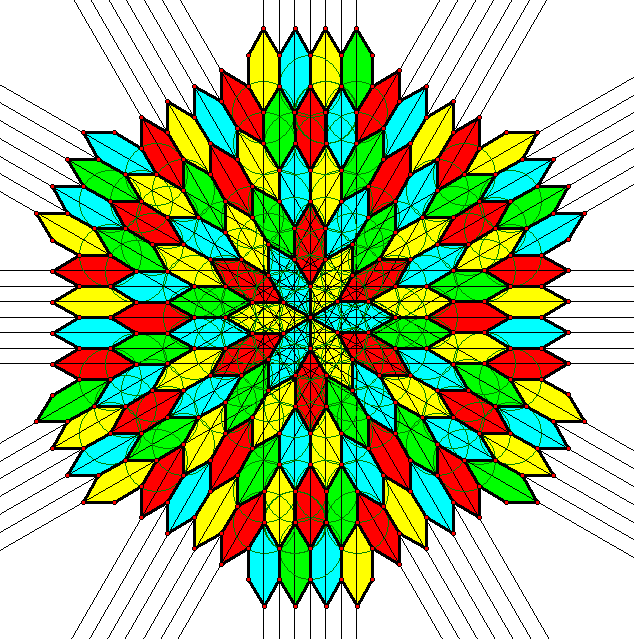
Although this was based on something I constructed using the Fractiles-7 magnetic tiling toy, I did not have enough magnetic pieces to finish this. The idea was, therefore, converted into a (non-Euclidean) construction using Geometer’s Sketchpad, and then refined using MS-Paint. The reason I describe this as a non-Euclidean construction is that an angle of pi/7 radians, such as the acute angles in the red rhombi, cannot be constructed using compass and unmarked straight edge: antiquity’s Euclidean tools. The other angles used are whole-number multiples of pi/7 radians, up to and including 6pi/7 radians for the obtuse angles of the red rhombi.
The yellow rhombi have angles measuring 2pi/7 and 5pi/7 radians, while the blue rhombi’s angles measures 3pi/7 and 4pi/7 radians. None of these angles have degree measures which are whole numbers. It is no coincidence that 7 is not found among the numerous factors of 360. It is, in fact, the smallest whole number for which this is true.
I have a conjecture that this aperiodic radial tiling-pattern could be continued, using these same three rhombi, indefinitely, but this has not yet been tested beyond the point shown.
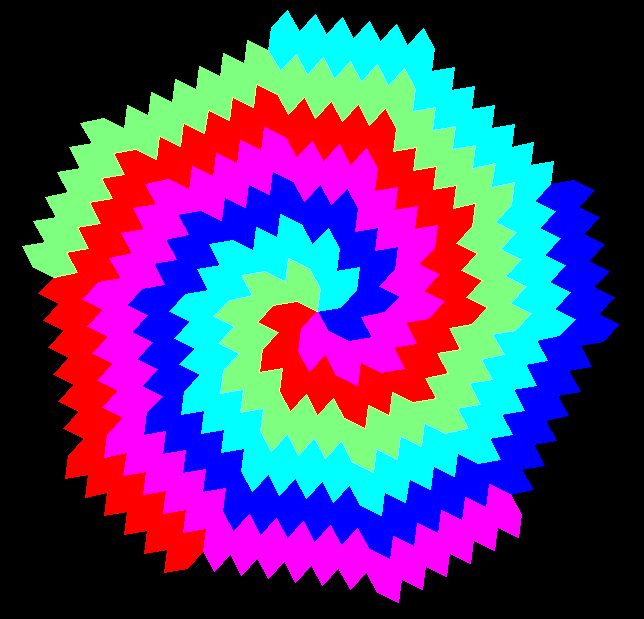
Unlike my previous octagon-tiling discoveries (see previous post), this is a chiral, radial tessellation, with the colors chosen to highlight that fact.

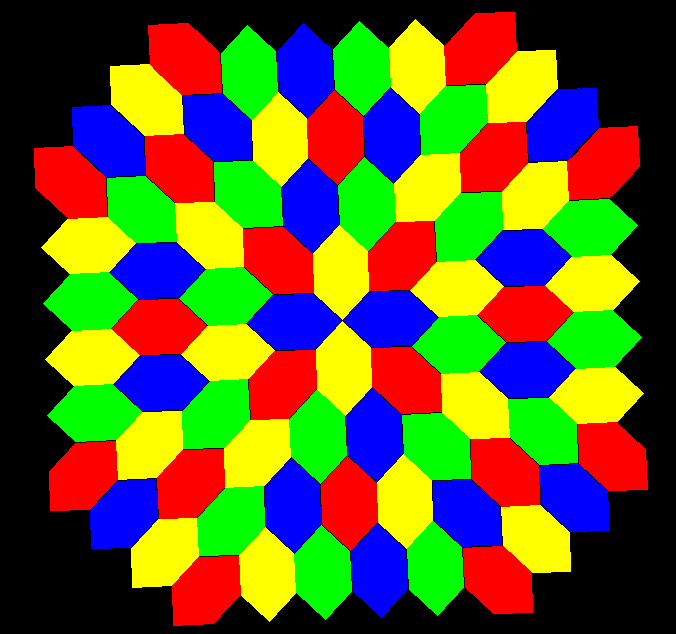
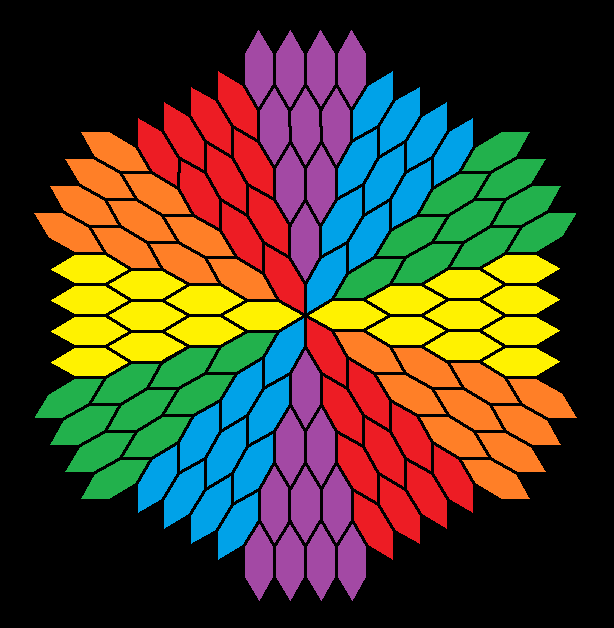
I explored radial tessellations of the plane, using only hexagons, in this earlier post. Order-three tessellations of this type are the familiar regular-hexagon tessellations of the plane. With higher-order all-hexagon radial tessellations, though, the hexagons must be elongated, although they can still remain equilateral, and all congruent, with bilateral symmetry. In that previous post, examples were shown of order 4, 5, and 8, in addition to the familiar order-3 regular-hexagon tessellation.
This left out order-6, of which I show many examples below. As it turns out, this particular radial tessellation lends itself particularly well to a variety of coloring-schemes. In the first picture, the construction-circles, -points, and -lines I used are shown; in the rest, they are hidden.
No upper limit exists to the order-number of these all-hexagon radial tessellations — although the larger that number gets, the thinner the hexagons become, relative to their edge length. At some point (which I expect would vary from person to person), as the order-number increases, the hexagons needed will become so thin that they will no longer be recognizable as hexagons.
Next, with construction artifacts hidden, are some two-color designs I found.


Here are some which use three colors each:


I also found some four-color patterns with interesting symmetry:
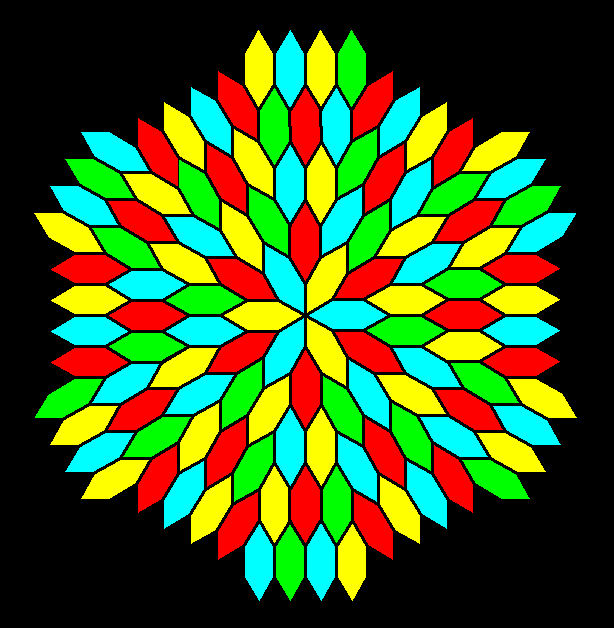

Finally, here are some which each use six colors.


This tiling-pattern could be continued indefinitely, while still maintaining its five-fold radial symmetry, giving it the overall appearance of a pentagon.

Radial tessellations are described in the previous post. This is a continuation of the idea, but with both regular pentagons and hexagons included. As before, the largest resulting gap-polygons expand as one recedes from the center.
 I call this sort of thing a “radial tessellation” — it follows definite rules that resemble those for regular or semi-regular tessellations, but possesses, primarily, radial symmetry. It also has lines of reflective symmetry, but these lines all meet at the radial-symmetry central point, which, in this case, is inside the central pentagon.
Moving out from the central point, the first gap-polygons encountered are black rhombi. The gaps exist because the 360 degrees necessary to surround a point cannot be divided by a whole number of 108 degree angles, from the regular pentagons, without leaving a remainder. This remainder, from arithmetic, is manifested geometrically as a gap between pentagons.
After the rhombi, moving further from the center, appear purple, non-convex equilateral hexadecagons, then, after that, larger, red polygons with more sides and indentations, and then the next, even-more-complex polygons after that, in yellow. Off the edges of the screen, this increase in gap-polygon size and complexity continues without limit, provided the pattern shown is followed. Here is the “recipe” for producing it:
1. Begin with a regular pentagon. Locate its center, and use it as the center point for all rotations.
2. Designate the line containing an outer edge of your figure as a line of reflection.
3. Reflect your entire figure over the designation line of reflection.
4. Take the newly-reflected figure, and rotate it around the central point by 72 degrees. Next, perform this same rotation, using the newest figure produced each time, three more times.
5. Return to step 2.

Pictured above is the most familiar hexagonal tessellation. I’ve found some additional tessellations which use equilateral (but non-equiangular) hexagons, and have radial symmetry. They appear, using various coloring-schemes, below.